As an experienced Kinemaster video editor, I often have to remove the background of videos and images to make them look more professional. Kinemaster is always adding new features; some of these changes have brought powerful tools for removing backgrounds.
In this article, I’ll show you how to remove background in Kinemaster and give you some guides that will help you. This guide will show you how to use the Kinemaster app to remove the background from your videos and photos quickly.
Table of Contents
ToggleImportance of Background Removal?
The background of a video or image is a key part of making it look professional. Its small part can have an enormous impact on the entire thing. I’ve written down some important reasons and times when you should remove the background from an image or video.
- It cuts down on the time and effort you need to spend looking for places. You can make the video look like it was shot somewhere else at home.
- The Kinemaster background removal tool can help vloggers and people who make posts on social media make their videos and posts look more interesting and visually appealing.
- When demonstrating a product, removing the background is helpful. It can highlight the product’s features and benefits, making it easier for people to understand.
- Changing the background is helpful for Zoom meetings, video podcasts, video chats, and more.
- A busy or messy background can make it hard for people to notice the video’s main point. Changing the background can help keep the attention on the subject and make the picture look cleaner and more professional.
- Removing and changing the background can make your content easier for more people to understand.
Types of Kinemaster Background Removal Tools
Currently, in Kinemaster, there are two tools to remove the background. They are:
- Magic Remover: It is a new tool from Kinemaster that lets you remove the background with just one click. It can remove the background of any image or video, even if it doesn’t have a green screen. You can record a video in your room and then, with one click, get rid of the background you don’t want. Even though removing the background without a green screen is good, you have no control over how you want to do it. It is still better because it doesn’t require any technicalities.
- Chroma Key: This advanced feature requires you to know a few things. It can still be done by anyone, even if they don’t have technical knowledge. It needs a green screen or any other colored screen in the background. You can adjust the despill to get the best results in the chroma key.
Note: Despill gets rid of any color that gets on the video or image during a chroma key shot. It is usually used to eliminate green or blue tints around the edges of a video or image, which can be caused by light reflecting off a green or blue screen.
How to Remove Background in Kinemaster?
You can remove the background with the Chroma key or the Magic Remover in the Kinemaster app. It depends on what kind of video you have and how you want to get rid of the background. If you already have a video with a green screen background, you should use the chroma key. Use the Magic Remover feature only when the background is not green or other solid colored.
Magic Remover - Remove Background without Green Screen & Chroma Key
Here is a quick guide on how to remove background in Kinemaster using the Magic remover. You don’t have to worry about the green screen or chroma key; we’ll do it with a single click.
- Add the media file to your Kinemaster timeline. The media could be a video or an image. Make sure you add it as a layer. It won’t work if you add the media straight from the media option.

- Choose the media layer whose background you want to remove, and then scroll through the options until you find the “Magic Remover” icon.

- Click on the “Magic Remover” icon. It will start working on the video or image and remove the background.
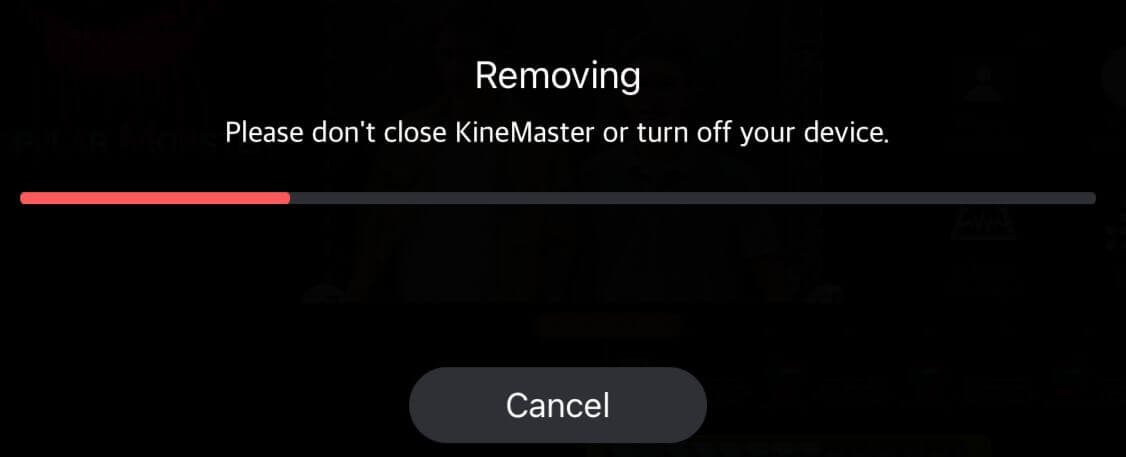
Once the removal process is complete, you can change the background and put in what’s best for the video to make it look professional.
Note: The Magic removal feature may not always give you the best results, but it is worth using if you don’t have a green screen or don’t know how to use the chroma key.
Remove Background with Chroma Key in Kinemaster
Using the chroma key to remove the background may sound complicated and hard compared to using Magic Remover. But it is not so hard that a beginner using the Kinemaster for the first time cannot do it. It also gives you full control so you can get the best result.
Where is Chroma Key in Kinemaster?
In the Kinemaster, the Chroma Key could only be found on media imported as a layer. Once you’ve imported the media from the layer option, you can choose the media layer and look for the chroma key option. It’s right next to the Magic Remover.

How to remove Green screen in kinemaster?
Follow these steps to use the chroma key to get rid of the green screen in a video:
- Import the media from the layer menu.
- Select the media layer and look for the chroma key option. Just as we do for magic remover.
- Click on the Chroma Key icon.

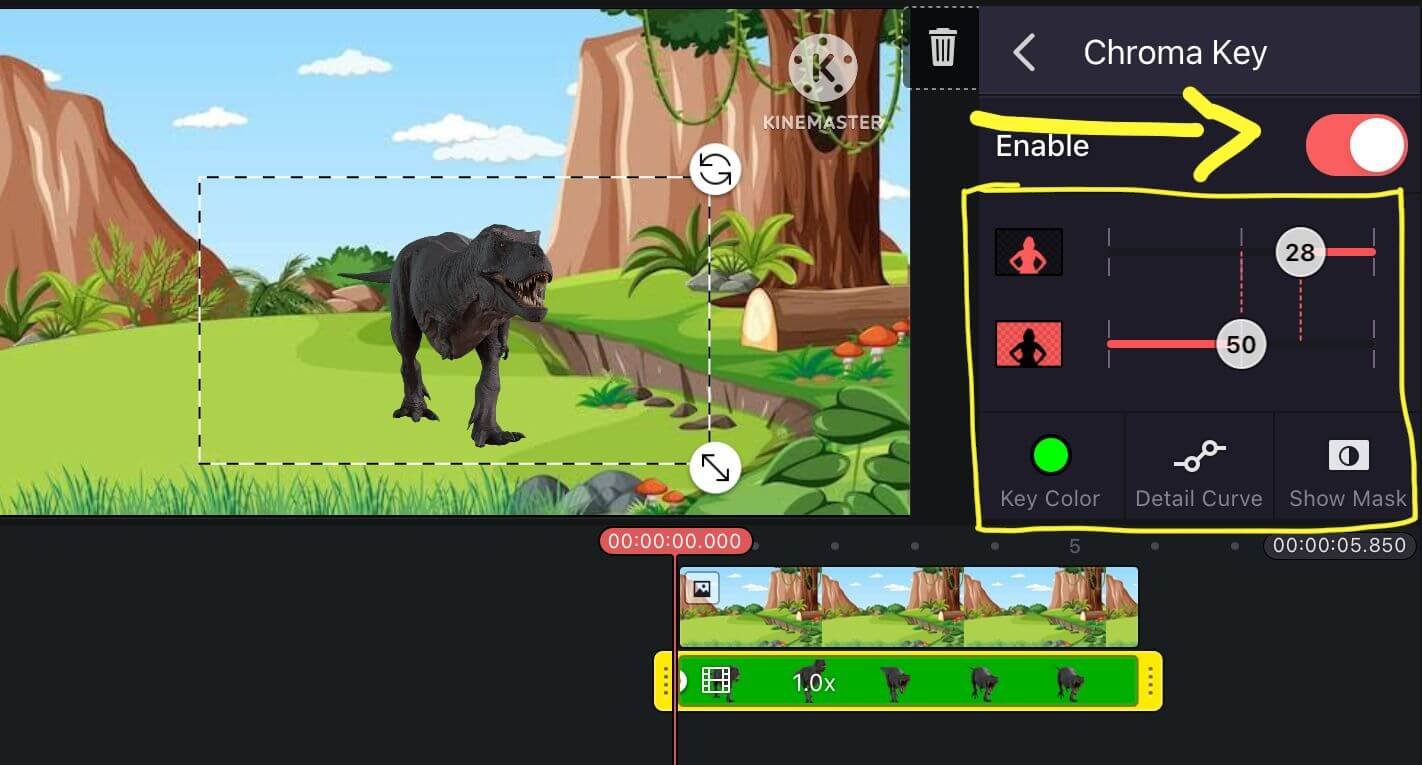
- To enable the chroma key, toggle the switch.
- Adjust the settings to get the best result.
- First, choose the key color. Since my footage has a green background, I’ll choose green.
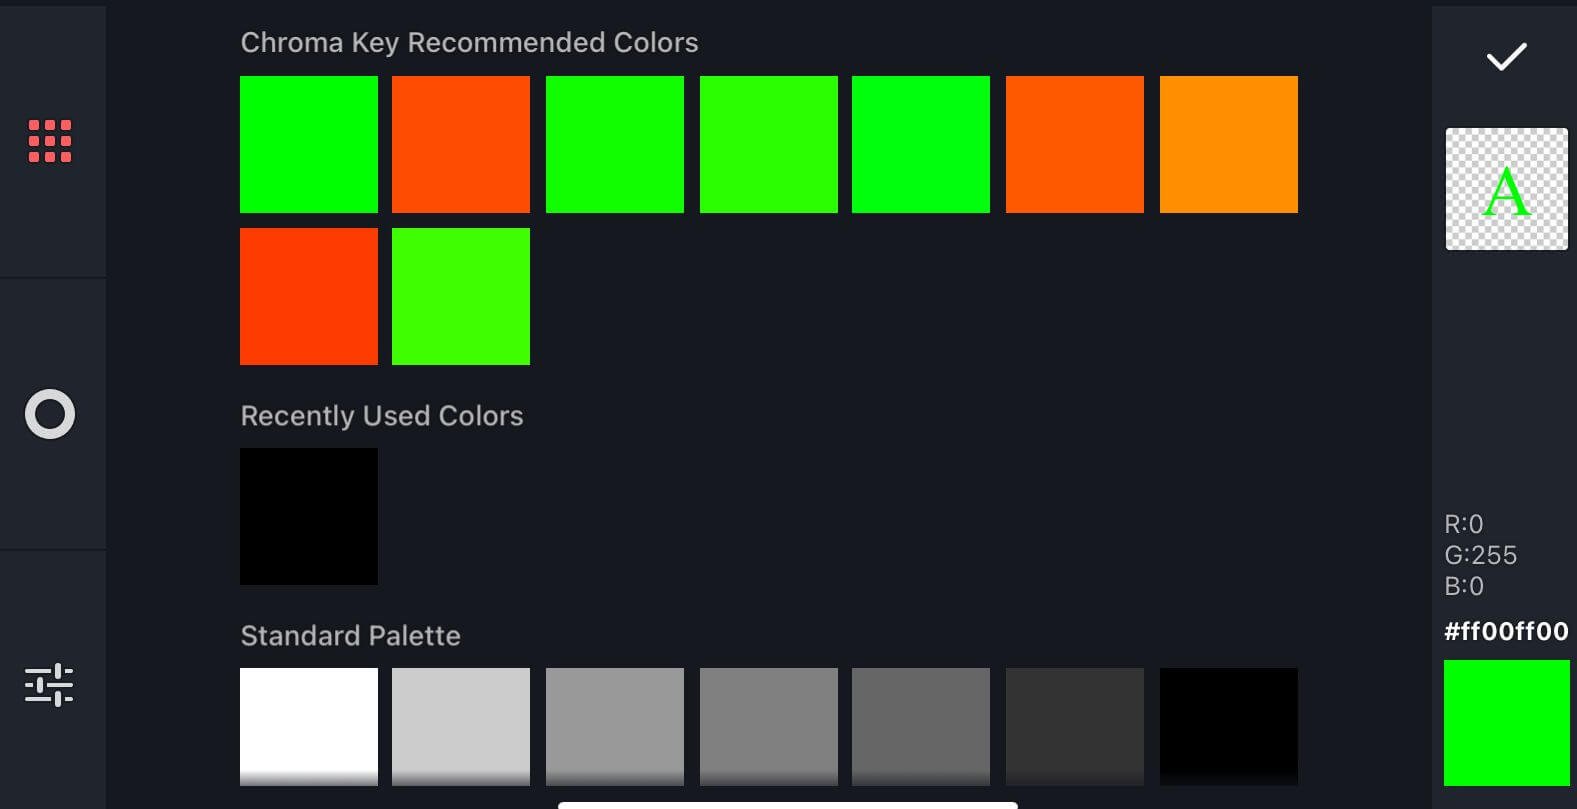
- If you have a green screen with perfect lighting and everything else, you may not need to make any more adjustments. If you don’t, do the next steps.
- Use the foreground and background sliders to increase or decrease the background and subject. Use the masking tool (show mask) to despill and get the perfect result. Try to make sure that the background is completely black and the subject is completely white.
- Use the “detail curve” to adjust the foreground and background blending cut-off.
Also, read “How to use Chroma Key in Kinemaster” to learn more about it and how to use it. It talks about every part of the Chroma key. You only need to read it once to use the Kinemaster chroma key like a pro for the rest of your life.
And that’s how you remove the background in Kinemaster. Read on to find out how to change the background once you’ve removed it.
How to Change Background in Kinemaster
Once you’ve removed the background from the video or image, you’re ready to change it. To change the background, follow the steps below.
- In Kinemaster, you should import the main background from the media. Or, you can use a layer to add it, but it should go on top of the footage or image you want to use it with.
- Look for a background that goes with the subject. I’ve used an animated T-rex. The subject and background look great, so I’ll keep it that way.

- You should figure out the background first before changing it. Getting the background beforehand would make fitting in with the subject easier. And also cuts down on time.
Conclusion
Kinemaster is a powerful tool that provides its users with several ways to remove the background from images and videos. As discussed in this article, two methods are available: the Magic Remover and the Chroma Key. While the Magic Remover is ideal for quick removals without a green screen, the Chroma Key gives you more control over the process. Removing or changing the background can make your videos look more professional and visually appealing. Removing and changing the background can be especially useful when demonstrating a product or during video chats, podcasts, meetings etc. With Kinemaster’s new features, anyone can easily remove backgrounds, no matter their technical expertise. So why not try it and take your videos to the next level?







Apple store redeem code